My last post ended with painting the base for what would become Seeley Creek. Now it's time to add the glossy medium that will represent the water's surface. This view shows the first application the acrylic gloss media to the painted stream bed. The media dries clear and the blue tint shown in the photo will disappear when the acrylic material is dry. This is the first of several coats and I quickly learned not to introduce air bubbles into the media. If that occurs on the first coat, it can be corrected on the second and any subsequent applications. The acrylic gloss media is best applied with a small round tipped paint brush. I like using this stuff because it dries clear, has no odor, and clean up is simple with just soap and water. When dry the surface texture is very glossy and has gentle ripples in it that nicely represents flowing water. Since I model the Fall, most streams are in low flow conditions, so I didn't need to introduce any rapids or "white water" conditions.

The next step in the process was to extend the tree line down the hillside in the background and blend it with the photos in the backdrop. I began by painting a tree line on the backdrop along the ridge line of the hillside with dark brown paint. It's not important that the painted area look like trees, because it will be covered by foliage. It's there so that the light backdrop doesn't show through the understory of the forest.
I also used a foliage color palette that was consistent with the trees that were in the photo backdrop, and placed smaller trees in the back and larger ones in the front to create the effect of distance.
Here's a close-up of the trees showing a variety of foliage type. The edge of the forest includes smaller bushes and vegetation to fill the gap between the ground cover and the tree canopies. (More on my tree making process in an upcoming post) The green florist foam that formed the base of the hillside made for easy planting of the trees. I use an awl to make a tiny hole, and then push the base of the tree into it. That's all there is to it. This view also shows the ground up leaves that form the base of the forest. In retrospect, I probably only needed the ground up leaves in the foreground of the forest and not over the entire hillside.
This view shows the tree line extending down the hillside. Note the smaller trees to the left and larger, closer trees to the right. Also note how the brown painted ridge line disappeared, but allows no blue sky to project through the tress.
In this view the tree line extends all of the way to the water's edge and opens up just enough to show the field in the photo backdrop. I added some static grass on the right which will extend under the right bridge abutment. I still have more trees to plant on the hillside, but wanted to complete the area behind where there bridge will go as the rest of the scenery can placed once the bridge is set.
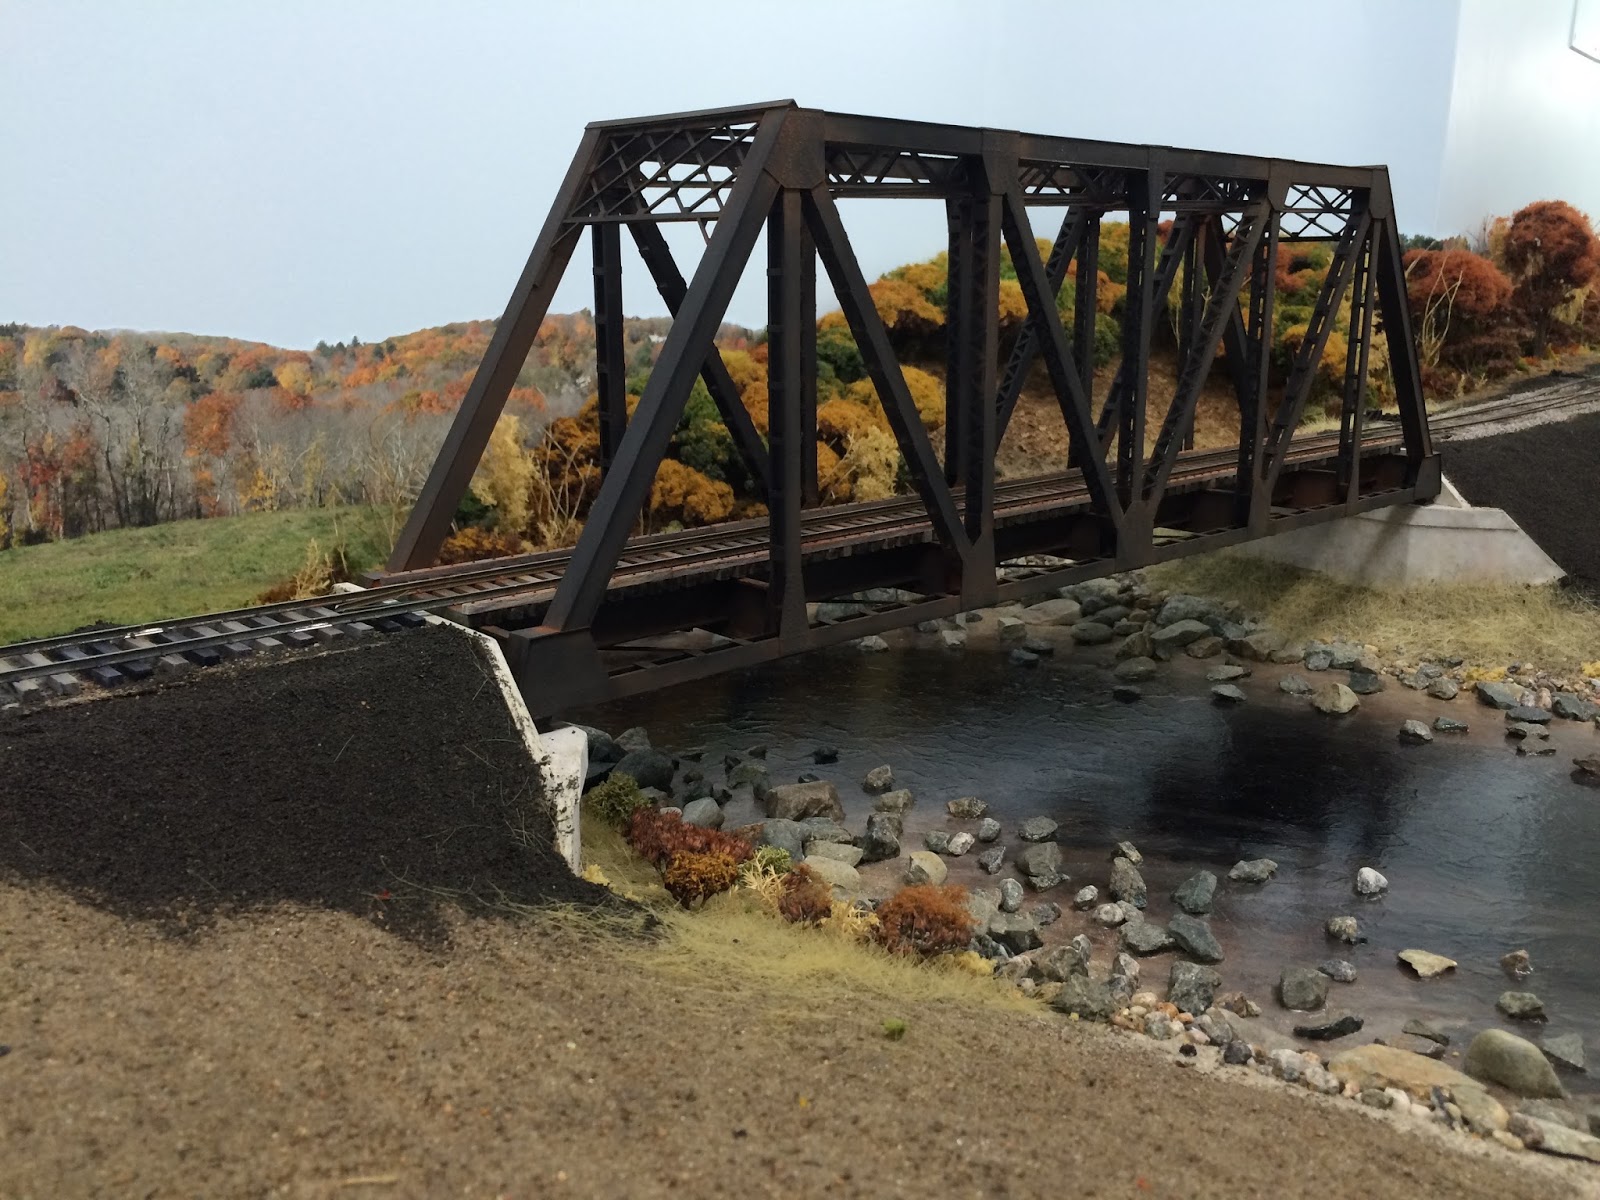
I then set the bridge on its abutments and shimmed the bridge bearings until the deck was level and at the proper elevation. I connected the track to the adjacent ties but otherwise did not secure the bridge in case it ever had to be removed. The fill slopes on the approaches were covered with cinder like material and static grass was applied under the bridge. Work on the foreground details has begun under the near abutment and much work is still needed to complete the scene, but for now the bridge is serviceable.
This is my favorite shot of the completed scene taken from under the bridge. It appears as if the stream continues on, but in realty it ends a short distance away.


Really, really nice work! Both the stream and bridge look very realistic.
ReplyDelete